protocol buffer
环境(windows)


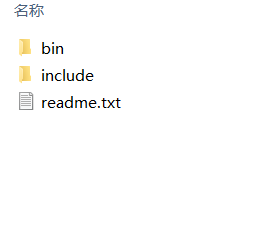
 ### 解压完成
  ### 添加环境变量


.proto文件
syntax = "proto3";

message Student {
  string username = 1;
  int32 password = 2;
}
创建格式化命令
将依赖库打包成js文件 然后直接导入这个新的js文件即可使用插件js
# comm js
protoc --proto_path=D:\code\plug\protocbuf\protocMsg --js_out=import_style=commonjs,binary:D:\code\plug\protocbuf\protocMsg\jsout Student.proto3
使用配webpack配置文件进行打包
参考 创建webpack.config.js文件
const path = require('path');

module.exports = {
  entry: './src/Student.proto3_pb.js', // 打包的文件名
  output: {
    filename: 'main.js',              // 输出的文件名
    path: path.resolve(__dirname, 'dist') // 输出的位置
  }
};
完成后执行
npx webpack --config webpack.config.js导入要用的html文件中
<!doctype html>
<html>
  <head>
    <title>开始</title>

  </head>
  <body>
    <script src="./dist/main.js"></script>
    <script type="text/javascript">
        const pt = new proto.Student();
        pt.setPassword(123);
        pt.setUsername("456");
        const byte = pt.serializeBinary();
        console.log(byte)

        const stu = proto.Student.deserializeBinary(byte)
        console.log(stu.getPassword())
    </script>
  </body>
</html>